


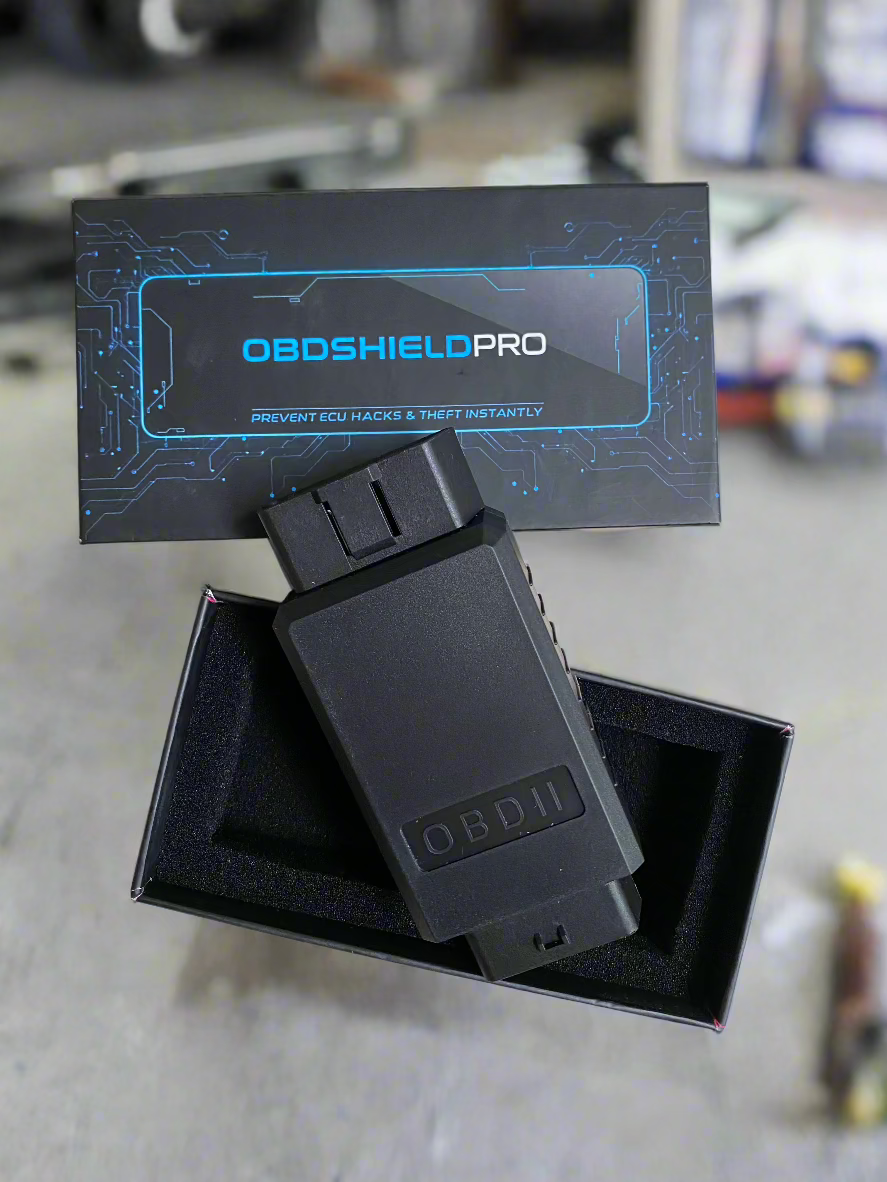
OBD SHIELD PRO
OBD SHIELD PRO
OBD SHIELD PRO
Couldn't load pickup availability
OBD Shield – Car Theft Protection
Protect your car from keyless theft in seconds. OBD Shield is a tamper-proof, easy-to-install device that blocks unauthorized access to your vehicle's OBD port – a common entry point for modern car thieves.
Compatible with all Models and Brands built after 2001.
Stops Thieves Instantly
One-Time Purchase – No Monthly Fees
Order now and enjoy peace of mind wherever you park.
A detailed installation guide will be provided at checkout, including your unique pin swap configuration for optimal security.
Share
Quick Installation Guide
OBD Shield: Quick Installation Guide
Thank you for choosing the OBD Shield!
This device provides enhanced security for your vehicle by safeguarding against unauthorized ECU access , while seamlessly enabling full diagnostic functionality when needed . Please follow these instructions for proper installation and operation.
Package Contents:
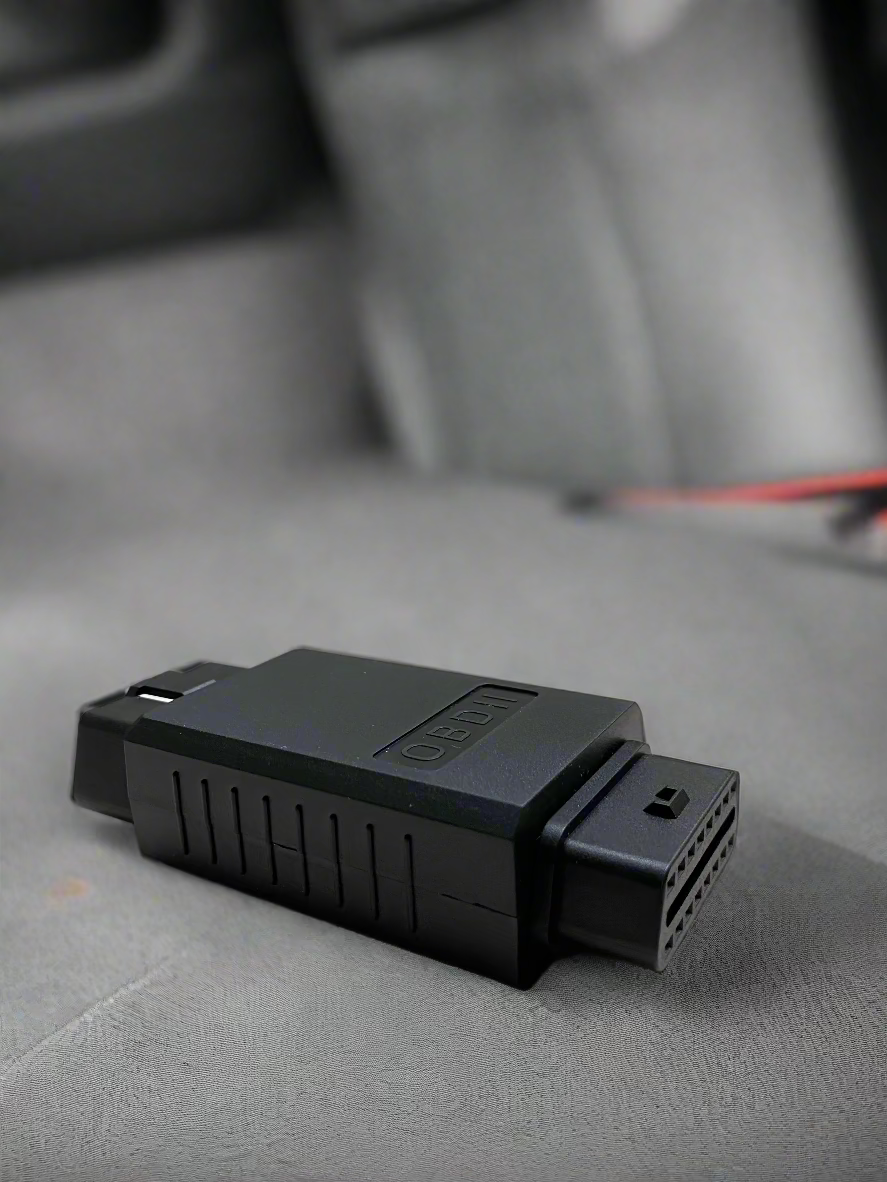
- OBD Shield Adapter
- Quick Installation Guide
- Stickers
Step 1: Locate the OBD-II Port
- Location: The OBD-II port is typically located under the dashboard, near the driver's side.
- Reference: If you are unsure of the exact location, please consult your vehicle's owner's manual.
Step 2: Identify the Modified Pin Configuration
Your vehicle's OBD port pins will require modification. These changes are crucial for the OBD Shield's functionality.
- Pin Swaps EXAMPLE: DO NOT USE
- Manufacturer-Specific (Pin 1) Moved to Pin 9
- Manufacturer-Specific (Pin 9) Moved to Pin 1
- Manufacturer-Specific (Pin 8) Moved to Pin 12
- Manufacturer-Specific (Pin 12) Moved to Pin 8
- L-Line (Pin 3) Moved to Pin 11
- L-Line (Pin 11) Moved to Pin 3
- Ground(Pin 4) Unchanged
- Ground(Pin 5) Unchanged
- Power (Pin 16) Unchanged
- Important: These modifications effectively block unauthorized access to your ECU while ensuring compatibility with the OBD Shield adapter .
🔌 Step 3: Connecting the Adapter
- Alignment: Align the OBD Shield adapter with your vehicle's modified OBD-II port .
- Insertion: Firmly insert the adapter until a secure "click" is felt.
- Verification: Ensure a tight and secure connection with no loose fittings .
Step 4: Using an OBD-II Scanner
- Diagnostic Access: When diagnostic access is required 🩺:
- Connection: Plug your standard OBD-II scanner into the OBD Shield's output port 🔌.
- Signal Rerouting: The adapter will automatically reroute the modified signals back to the standard OBD-II configuration .
- Operation: Your scanner will now communicate with the ECU normally.
- Reminder: Without the OBD Shield connected, direct ECU access remains blocked.
Step 5: Disconnecting the Adapter
- Post-Diagnostics: After completing your diagnostics :
- Scanner Disconnection: First, unplug the OBD-II scanner from the OBD Shield .
- Adapter Removal: Carefully remove the OBD Shield from the OBD-II port.
- Storage: Store the adapter in a safe and convenient location for future use .
- Vehicle Security: Your vehicle is now protected by the OBD Shield!
⚠️ Troubleshooting:
- If your OBD-II scanner fails to communicate, verify the pin modifications and ensure the adapter is properly connected 🔌.
- For any further assistance, please visit our website